PREPARATION FOR OPEN STUDIOS
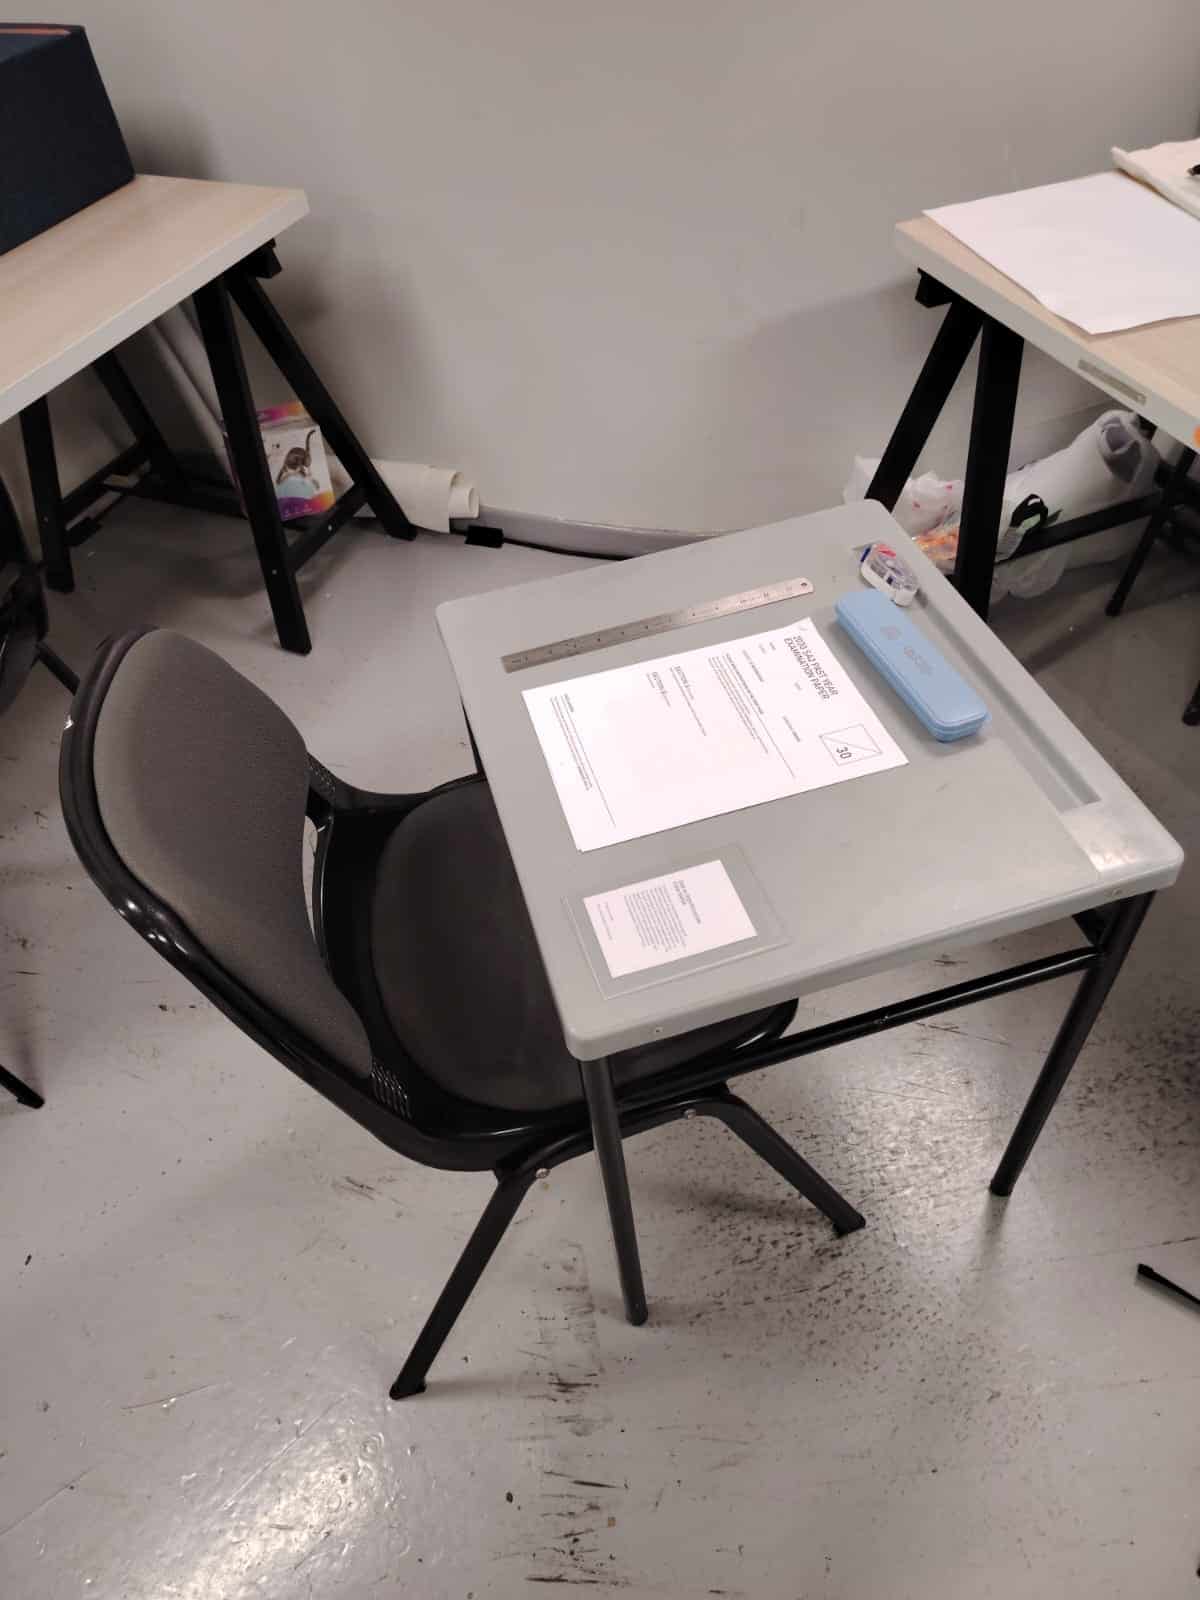
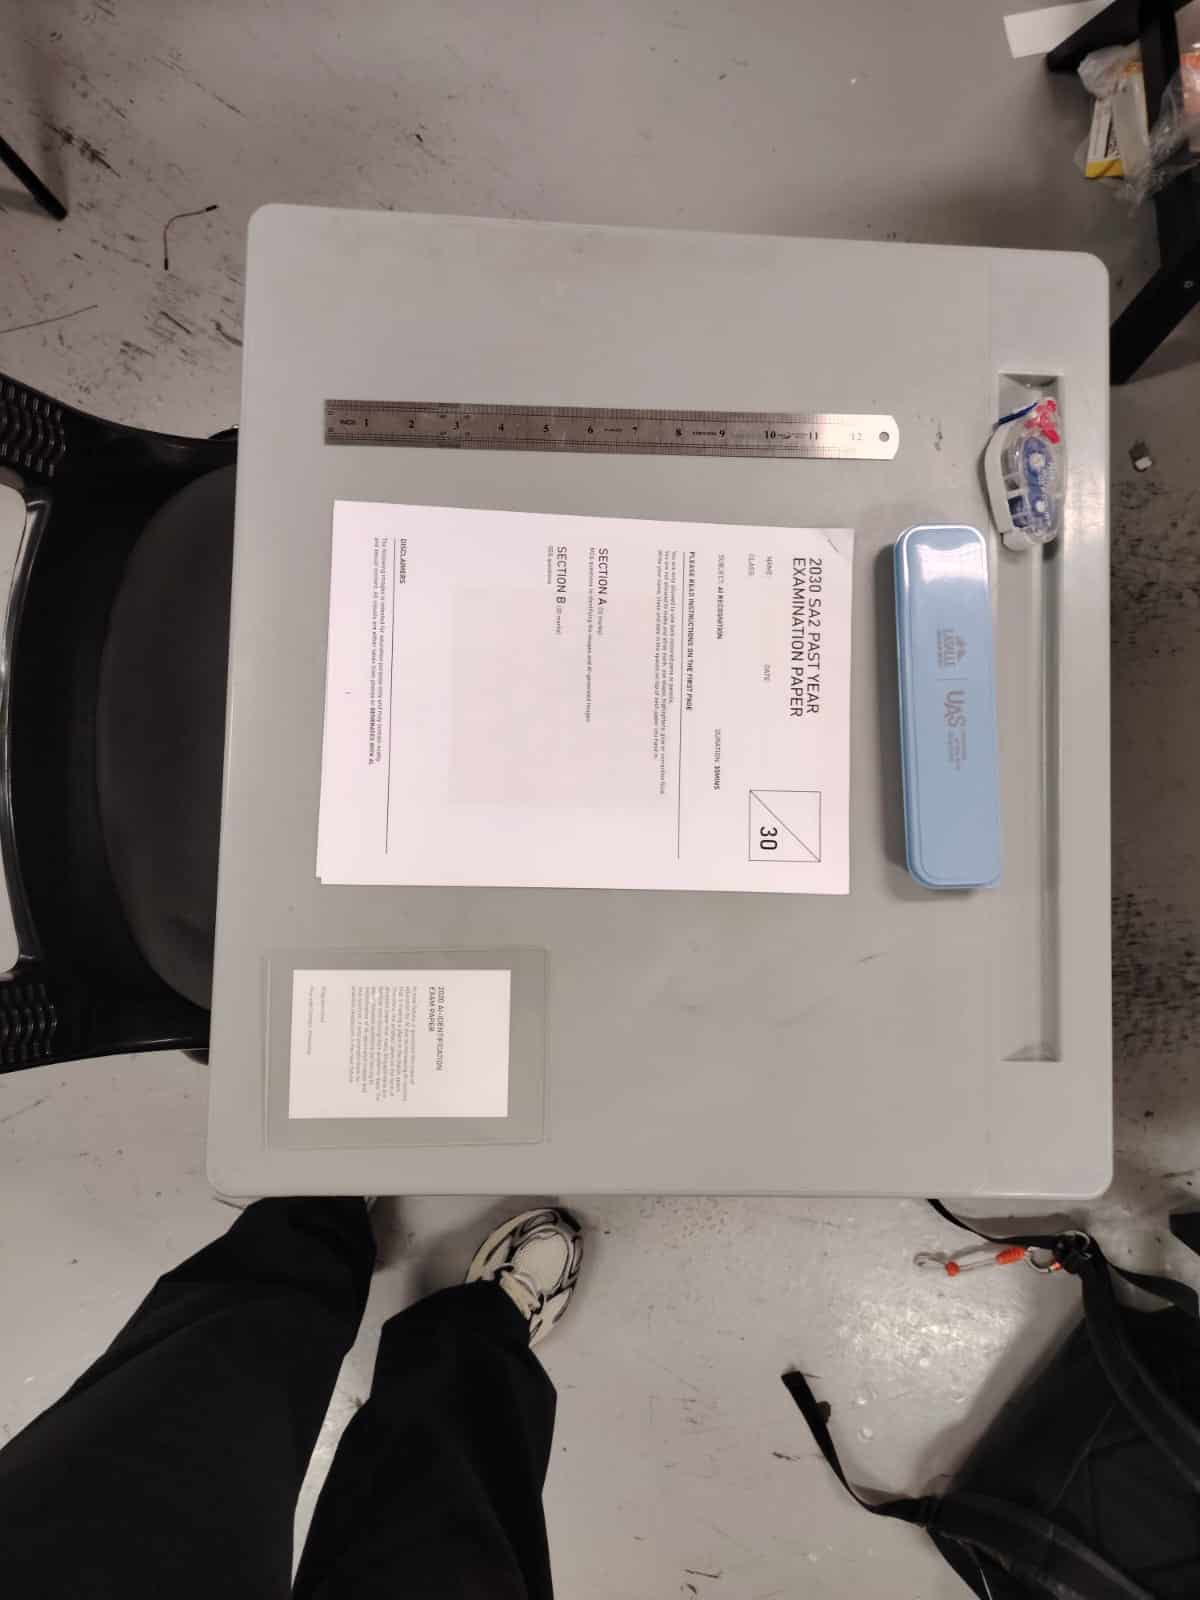
So the intention was to create a an experience for people to walk through the space and experience the work. The experience involves the nostalgia of students taking test in their academic days, therefore I tried to recreate the school setting with the school desk that we're familiar with. With the prior user testing that was done, it also showed how participants were making guesses in responding to the test paper. Hence, I intend to incorporate a confidence evaluator with the use of ComputerVision to detect facial expression, this would also allow me to relook into how the ESP32-CAM can be reused for the project.
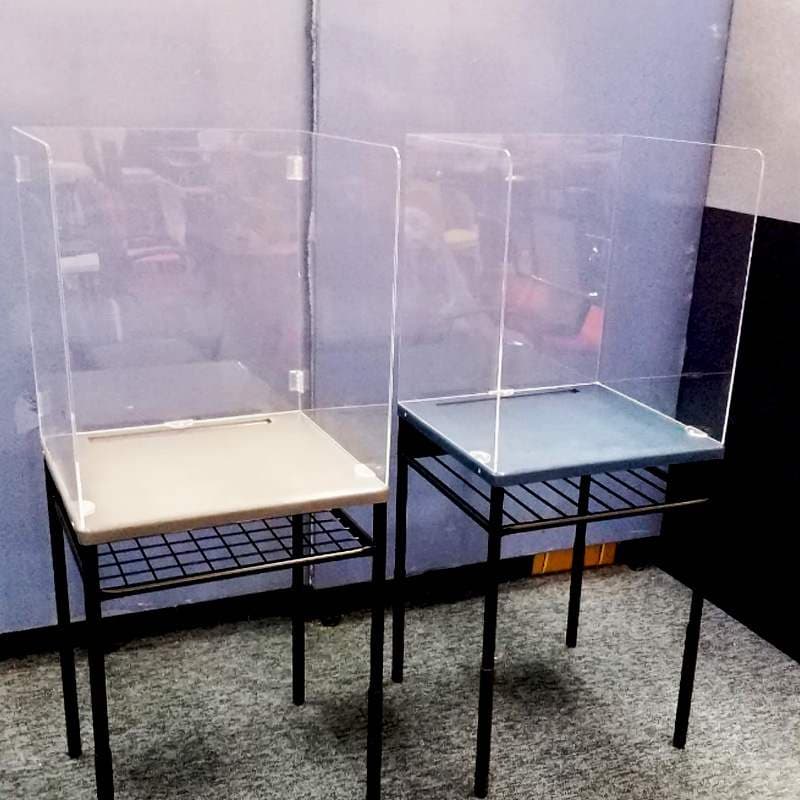
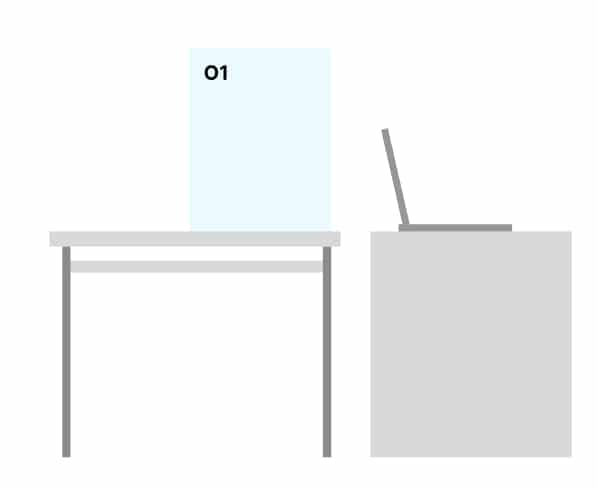
Through carousell, a platform that allows users to buy and sell new and second-hand goods, I was able to purchase a school desk at a very cheap price. However, the only issue with the desk was that it was of the preschool table height, which may not be suitable for the intended height of the participants.
IMPOVING SCANNER FUNCTIONALITY
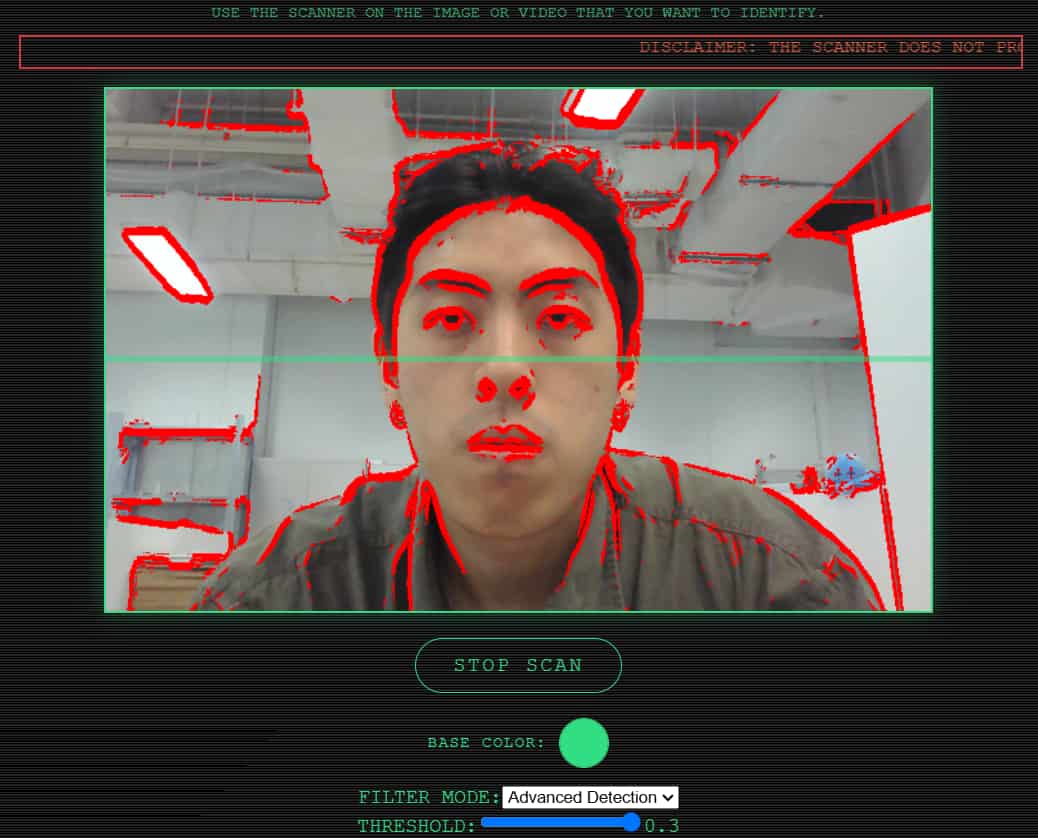
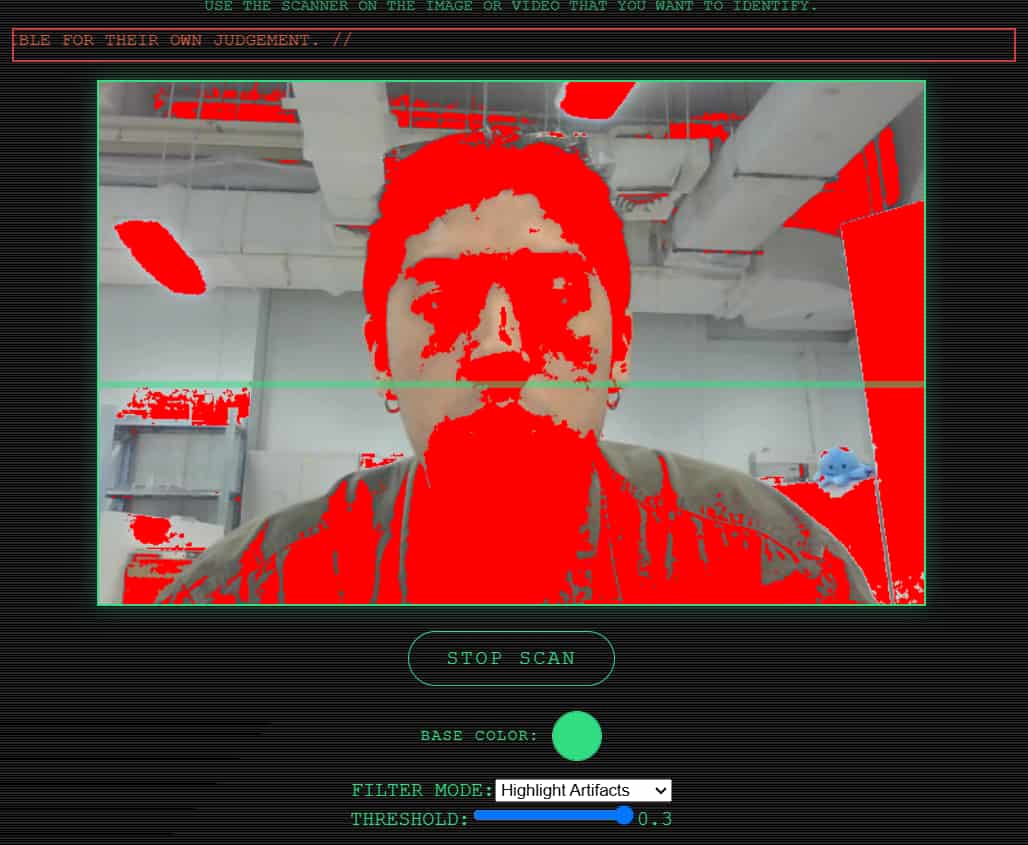
With the help of Claude, I was thinking how I could suggest other ways to detect the generated visuals, which also led me back to edge detection that taps on ComputerVision's capability. I was thinking how the edge detection could be a more advanced tool for people that are more familiar with the technology.
The edge detection can be used to spot subtle artifacts or structural oddities that aren’t obvious to the human eye in a fully rendered image. Edge detection highlights these areas where the model didn’t get boundaries quite right.AI models often balance multiple styles. You might see super sharp outlines in some parts and oddly blurry ones elsewhere—edge detection makes this more obvious. Edge detection can reveal unnatural symmetry or repetition (e.g., identical folds in fabric or cloned leaves).
LAYOUT PLANNING FOR OPEN STUDIO
For the set up, I was thinking of how I could instill that fear or anxiety that people have when they are taking test but amplified with a camera detecting their confidence in answering the test paper. By chance, I came across a shielding that was sold for the desk, but instead of purchasing it, I wanted to recreate my own version. This also helps to hold the ESP32-CAM in place and making sure it's capturing the participant's face for detection.
CONFIDENCE DETECTION
As proposed, I was trying to incorporate the use of ESP32-CAM to detect facial expressions and determine the confidence level of the test-taker during the test. I had Claude to help me integrate the code for ESP32-CAM to be the input of camera to detect facial expressions while the backend taps onto flask for the API. Soon I was met with the challenge of the drop in frame rate to run the detection program and it was quite concerning to how it could run for a long period of time. For the time being, I do intend to look into alternatives for the detection to run more smoothly for a long period of time.
To add on, I wanted to implement a report that would be generated at the end of the test, showing if the participants were confident during the test. This then allow the participants to see and get the full experience of the test. With that, I had Claude to help me once again to implement a real-time analysis of the detection using tinkr pad
HOW IT WORKS
The confidence detection was designed using computer vision along with several other libraries. The main usage for the detection was “Deepface”, a facial analysis library built on top of deep learning frameworks that provides several capabilities. It provides high-accuracy facial analysis without requiring you to train your own deep learning models. The code analyzes facial expressions using DeepFace’s pre-trained neural networks to detect emotions like happiness, sadness, or fear. Confidence is inferred from the combined presence of ‘happy’ and ‘neutral’ expressions, suggesting a sense of certainty, while negative emotions may indicate doubt. Tkinter was used to create windows to display the live and final report from the camera detection, while the Pandas was used to analyze the confidence data captured from the camera.
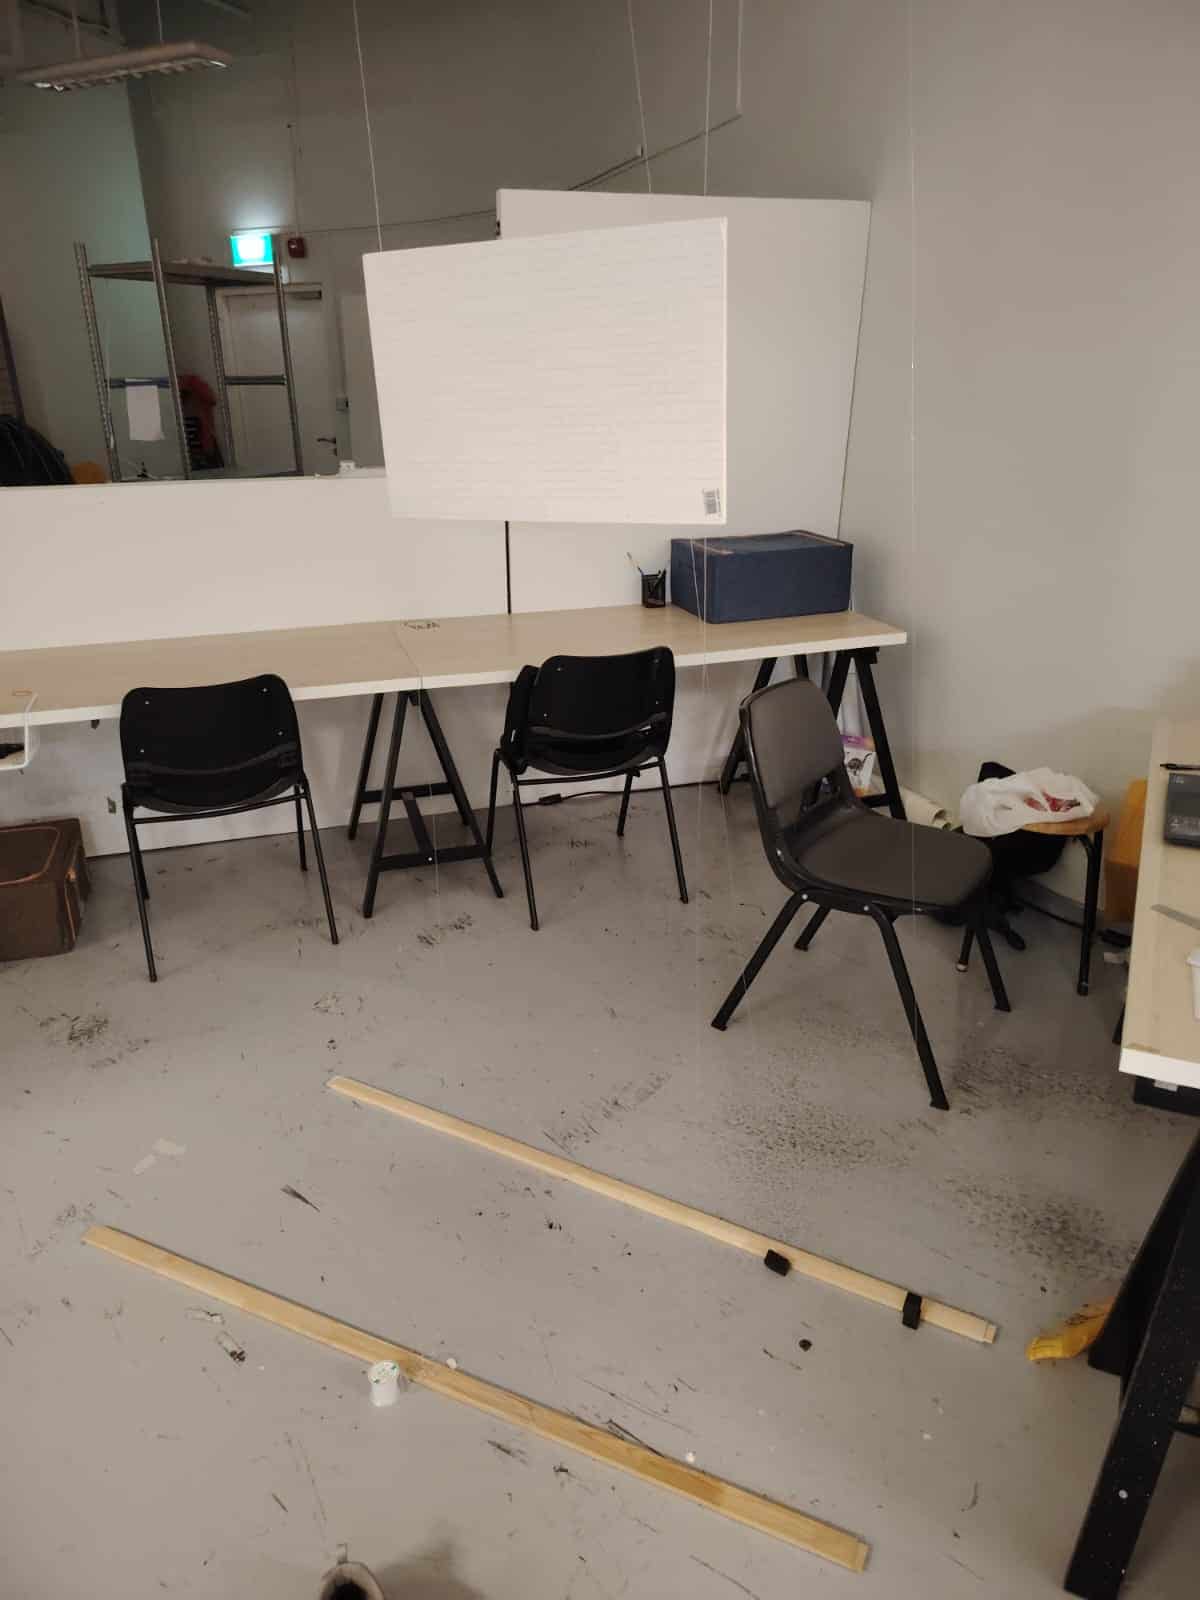
PHYSICAL SET-UP
For the Open Studio, I planned to create a physical setup featuring hanging screens that display descriptions of the various artifacts. The idea behind the hanging screens was to present information at eye level, making it easily accessible without requiring visitors to bend down. This approach also aimed to enhance the overall aesthetic of the setup while making effective use of my workspace.
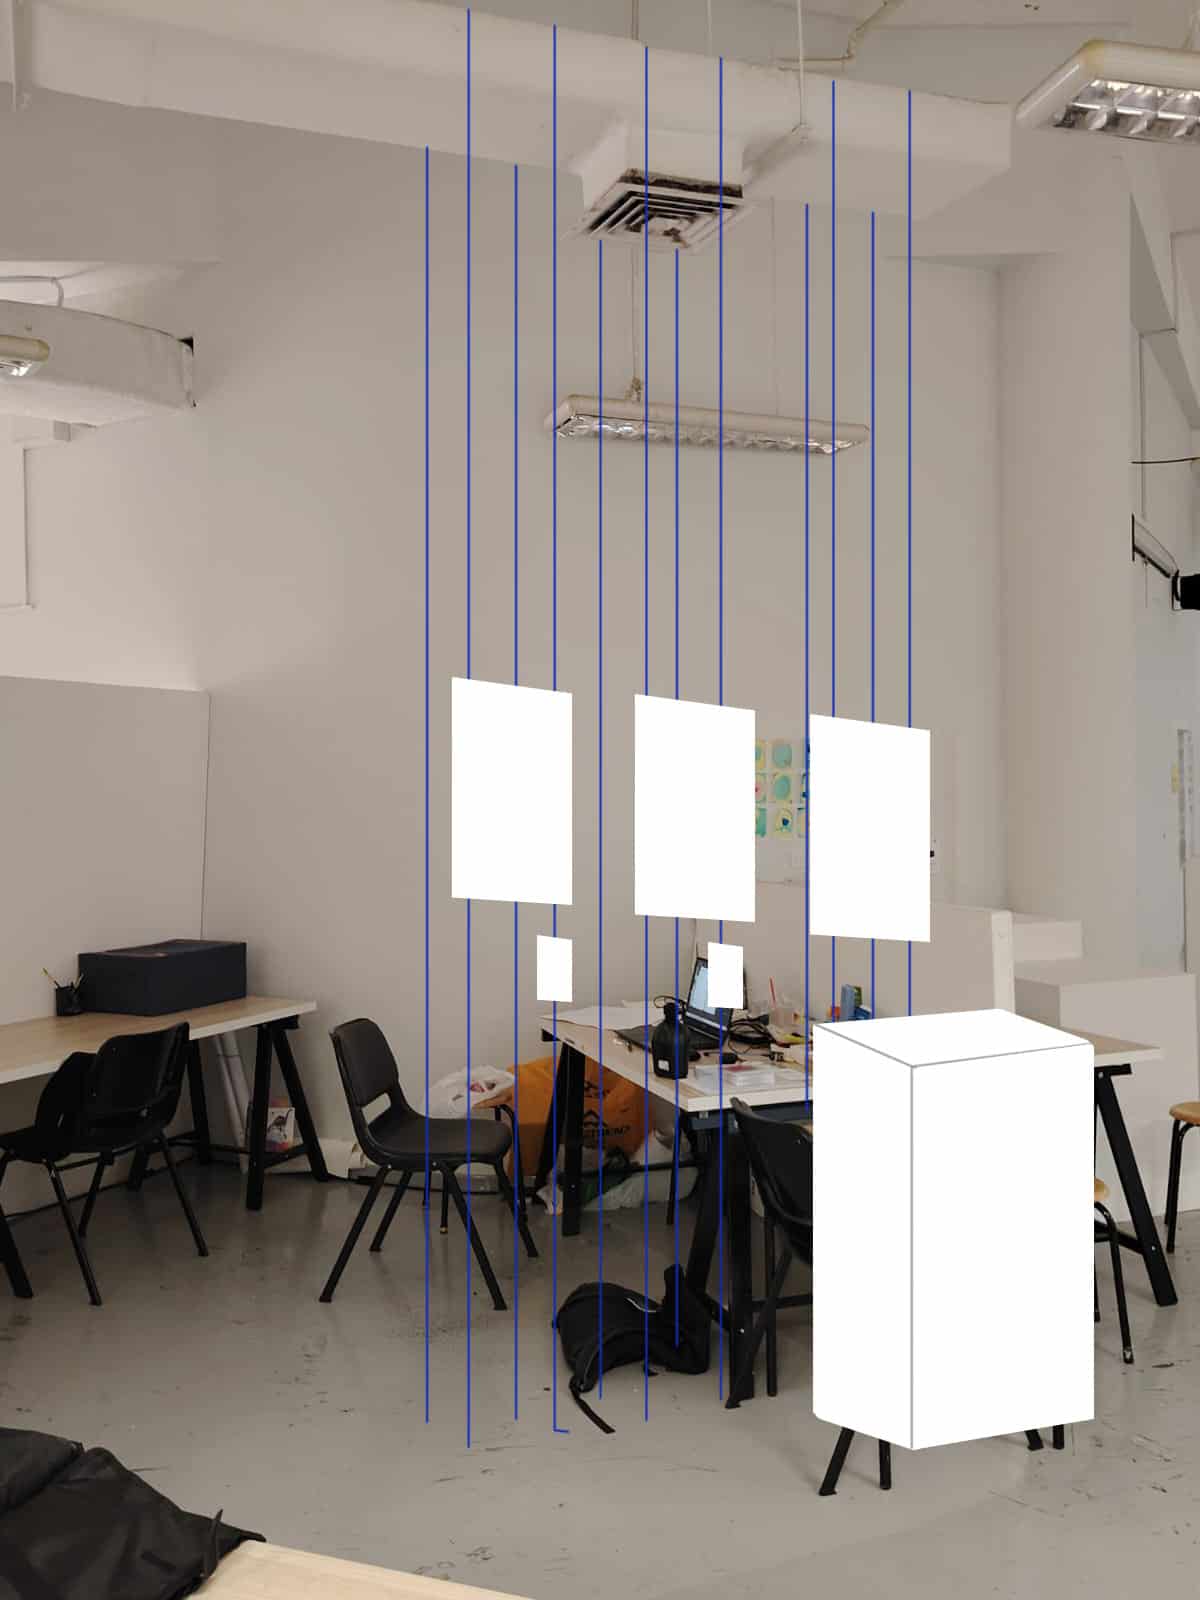
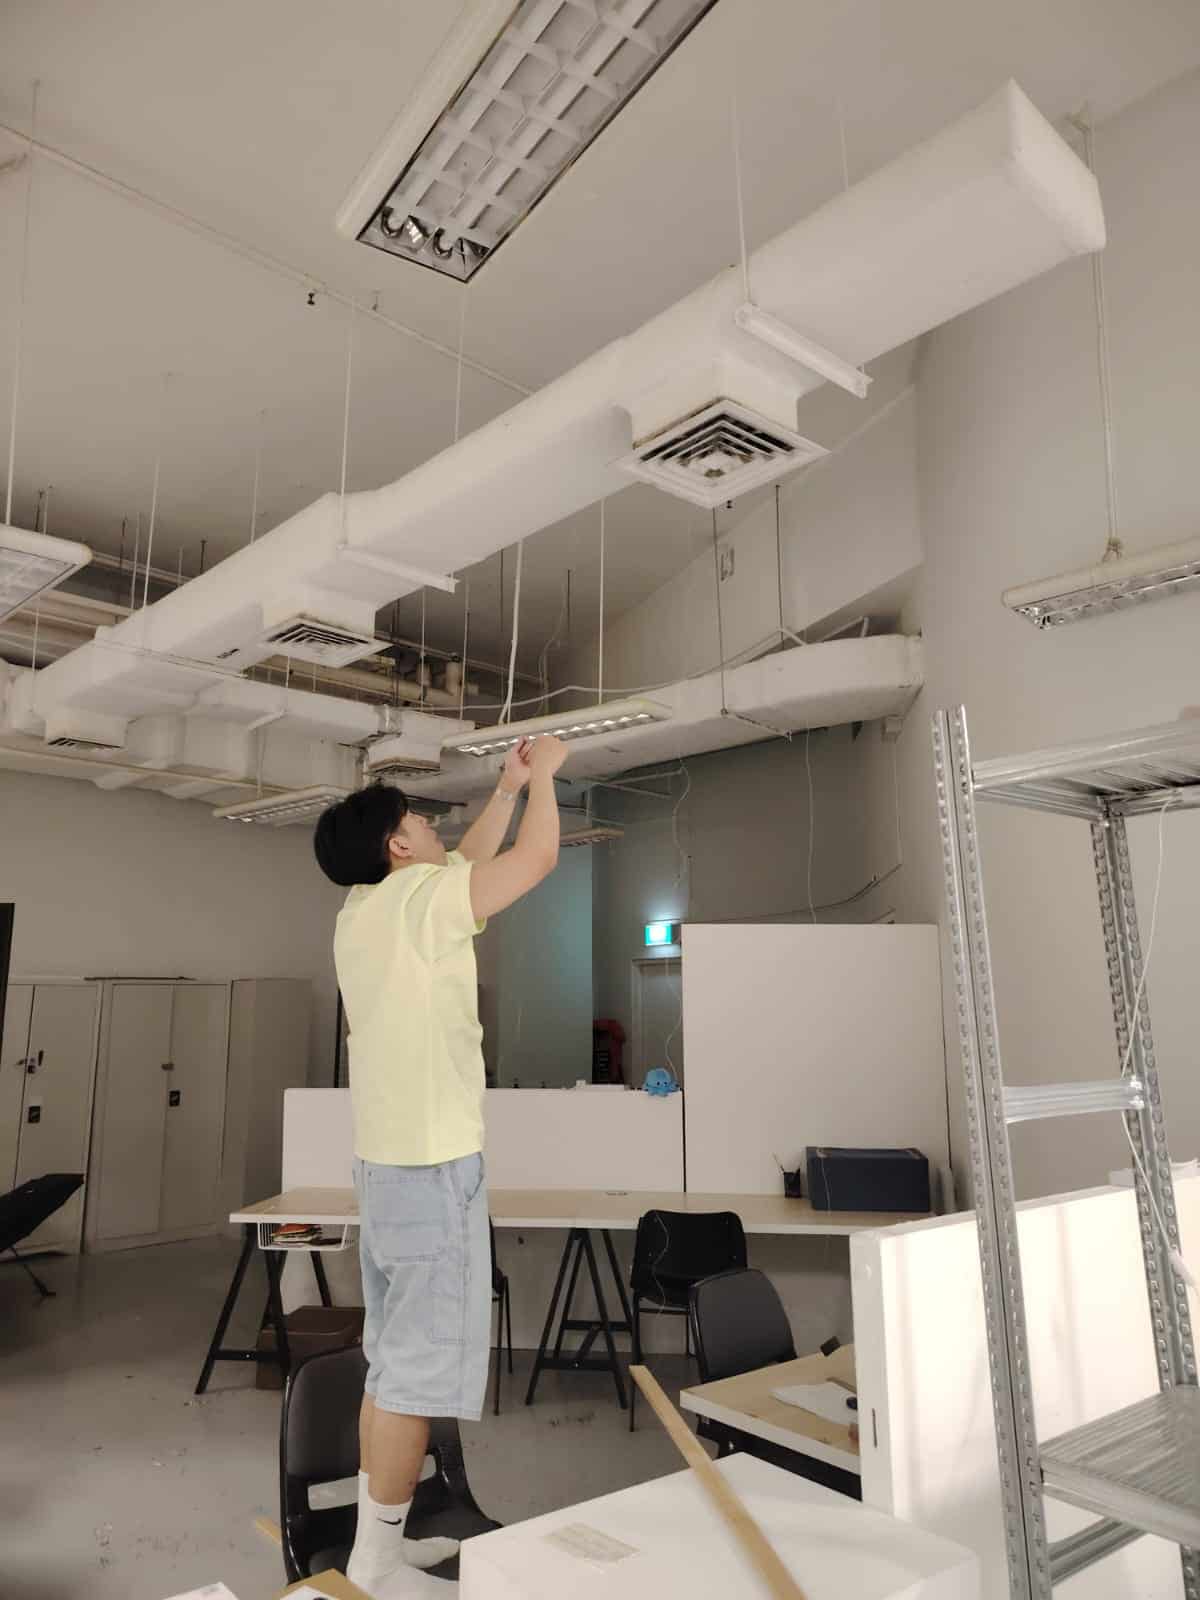
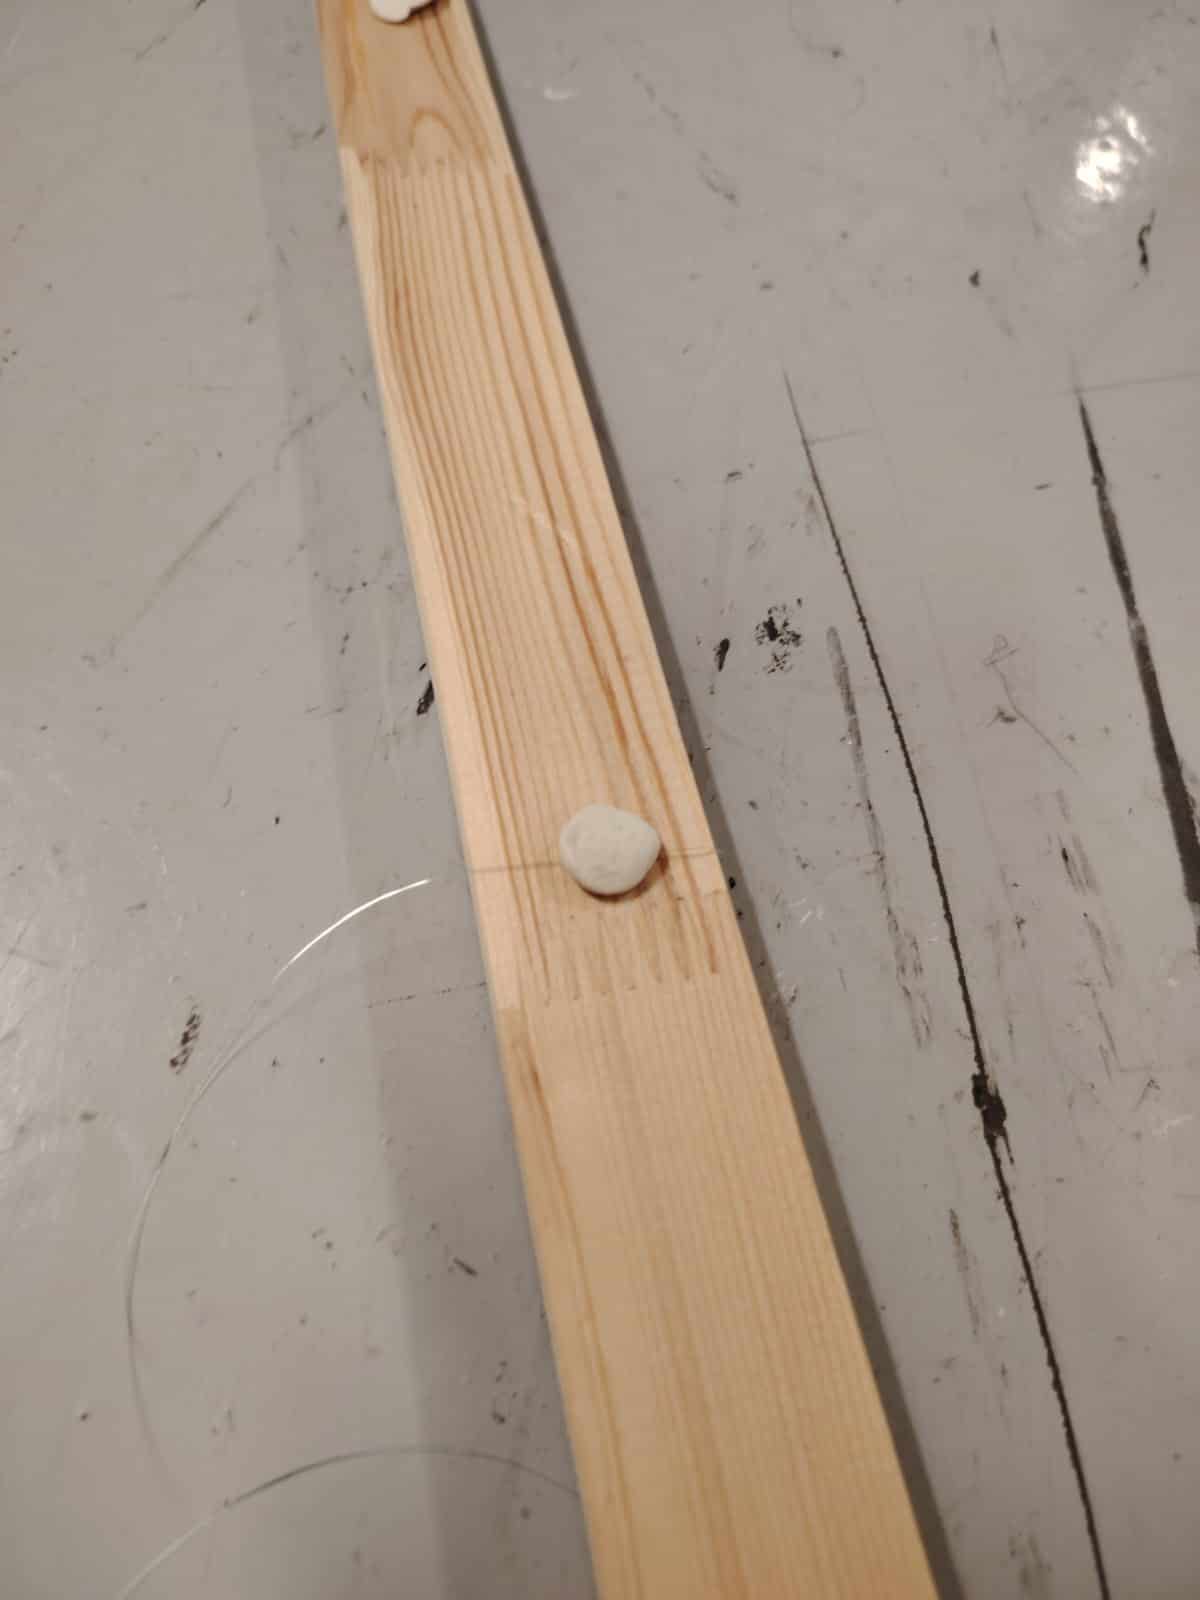
To execute this setup, I will use small weights tied to fishing lines, positioning them over the vents. By securing both ends with additional weights, tension will be applied to keep the lines straight, allowing the screens to hang neatly in place. Therefore, I went to get two wooden planks that could hold the fishing lines, I also tried to hold the lines with a bluetack for temporarily to avoid over tension on the vents.